MS-Word Session-11: This MS Word 2016 Assignment helps students learn WordArt, ClipArt, Footnote, Endnote and Hyperlink features in an easy step by step format. The practical assignment is perfect for computer course students who want to improve document formatting and professional editing skills. It includes Bevel Shape creation, Send to Back option, hyperlink setup and formatting techniques used in real projects. Students can easily understand and practice all important MS Word tools with this detailed and beginner friendly assignment guide.
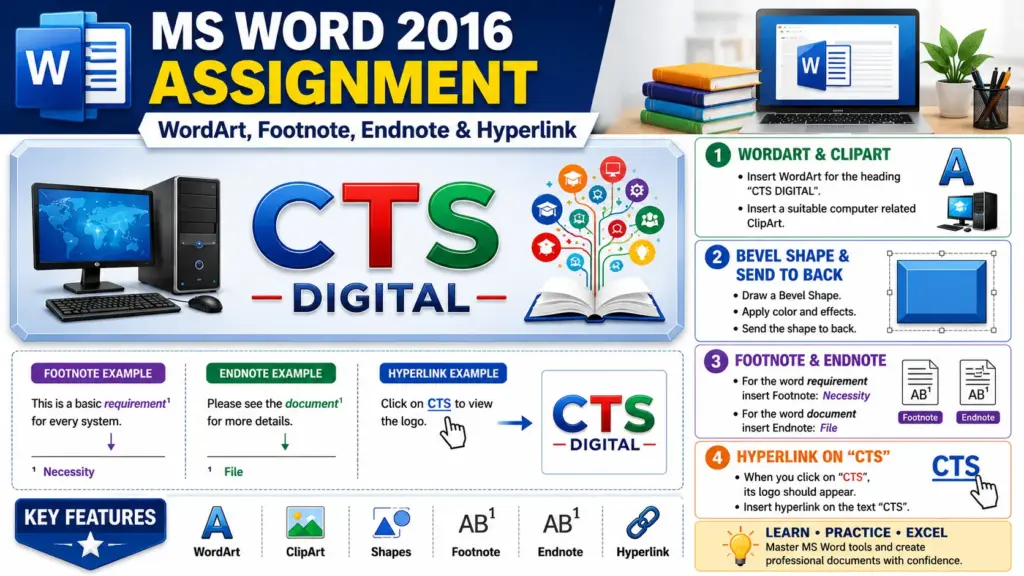
MS-Word Session-11: WordArt, ClipArt, Footnote, Endnote & Hyperlink
Objective:
To learn how to use WordArt, ClipArt, Shapes, Footnotes, Endnotes and Hyperlinks in Microsoft Word.
CCC MCQ Question and Answer: https://ctsdigital.in/fundamental-of-computer/
Q.1- Create the Heading using WordArt and ClipArt
Type the heading:
“CTS Digital ”
Instructions:
- Use WordArt style for the heading.
- Insert a suitable ClipArt/Picture related to computers or education.
- Apply attractive color and text effects.
CCC MCQ Question and Answer: https://ctsdigital.in/libreoffice-2/
Steps:
- Open MS Word.
- Click on Insert Tab.
- Select WordArt.
- Choose any stylish WordArt design.
- Type CTS Digital.
- Again go to Insert → Online Pictures/ClipArt.
- Insert a computer-related image.
Q.2- Draw Bevel Shape and Send it to Back
Instructions:
- Draw a Bevel Shape behind the WordArt and ClipArt.
- Apply color and shape effects.
- Send the shape behind all objects.
Ms Word session-09: https://ctsdigital.in/ms-word-session-9/
Steps:
- Click on Insert → Shapes.
- Select Bevel Shape.
- Draw the shape on the page.
- Right-click on the shape.
- Click Send to Back.
- Adjust the size behind WordArt and ClipArt.
Q.3- Insert Footnote and Endnote
Instructions:
- For the word “requirement” insert Footnote:
Necessity
- For the word “document” insert Endnote:
Ms Word session-10: https://ctsdigital.in/ms-word-session-10/
File
Steps:
- Select the word requirement.
- Go to References Tab.
- Click Insert Footnote.
- Type: Necessity
- Select the word document.
- Click Insert Endnote.
- Type: File
Q.4- Create Hyperlink on “CTS”
Instructions:
- When clicking on the word CTS, its logo/image should appear.
Steps:
- Type the word CTS.
- Insert CTS logo image in another page/document.
- Select the word CTS.
- Press Ctrl + K or click Insert → Link.
- Add hyperlink of the logo image/document.
- Click OK.
Now whenever you click on CTS, its logo will open automatically.